
Taking a photo is supposed to be freezing time. You have to tell your story without saying a word. But let’s be honest. Masterpieces are rarely created simply by pointing the camera at something and pressing a button. You don’t just need a fast shutter speed or megapixels. You need to understand how the light hits the surface. You have to think about your position. And you have to care about the mood.
To stop scrolling and start viewing, you must stop treating photography like a chore. You have to think of it as a conversation with the scene in front of you. This is how you can really start taking beautiful pictures.
Control natural light and take more beautiful portraits and landscapes
Light is more than just illumination. It is the substance of photography. Without it, there is nothing. Use the wrong light and you’ll end up with a dull, boring photo that won’t stick in anyone’s memory. The secret to taking beautiful photos isn’t buying expensive strobes, it’s learning to read sunlight.
There is a reason why the golden hour (the hour after sunrise and the hour before sunset) is famous. The light is soft. It wraps around subjects. It creates long, dramatic shadows that add depth. But you don’t have to wait until sunset to take good photos. Cloudy days are nature’s softbox. Clouds diffuse the harshness of the midday sun. Shadows disappear. The colors look very saturated. This is the easiest way to get a satisfactory exposure without dealing with glare.
“Light is the ingredient. The composition is the recipe. If you use the wrong light, the recipe doesn’t matter.”
Consider direction, not just intensity. Front lighting flattens everything. It removes texture. It makes faces look two-dimensional. Backlight can create a halo effect that outlines the subject against the clear sky. Side lighting? That is where texture lives. Reveals wrinkles, stones, fabrics and emotions. It sculpts the face. It adds drama. When you shoot, ask yourself, “Where is the light coming from?” Does it help you tell your story or work against you?
Composition: Breaking Rules Only After You Know Them
Even if the lighting in your photo is perfect, it can still fail. Why? Because it’s a mess. Composition is the arrangement of elements in a frame. It guides the viewer’s eye. It tells them where to look first.
The Rule of Thirds is the basics. You know this, right? Imagine having a tic-tac-toe grid over your image. Place your subject along those lines or at the intersections. It creates balance. It avoids the dead center, which can feel static and boring. But don’t stop there. Use leading lines. Roads, fences, riverbanks, even shadows. They pull the viewer into the frame. Create a path from foreground to background.
Perspective is also important. Most people shoot from eye level. Try getting low. lie on the grass Place your mobile phone or camera at your dog’s level. An ordinary cityscape suddenly turns into a gigantic landscape. Or try shooting from above. It simplifies clutter. Turn chaotic scenes into patterns. When you change your perspective, the story changes. It forces the viewer to see the world from a new perspective.
Color and contrast: setting the emotional tone
Colors are not just decorative. They are emotional triggers.
Light is not just a means of illumination. It is the most critical element that determines the spirit of photography. When used correctly, it makes ordinary frames striking and impressive. When used incorrectly, it erases the traces of professional work.
Understanding the Power of Natural Light
Natural light is the gold standard in the photography world. Especially during the daytime, the sun is a source of light that spreads softly and evenly onto objects. For this reason, choosing natural light as the primary source for outdoor shooting usually gives the best results.
However, not everyone follows this rule blindly. Shooting in the middle of the day, when the sun is directly overhead, can be risky. The shadows falling during these hours are very hard and sharp. This can distort facial features with ugly shadows, especially in portraits.
The solution is simple. If the light is too harsh, soften it.
Shoot on a cloudy day. Clouds act as a giant softbox. It scatters the light and reduces contrast.
Or avoid direct sunlight. Use the shade sheltered between a leaf. Shooting in a shaded area naturally filters the light and creates less harsh contrast in skin tones.
Why is Soft Light Important?
Soft light sources are especially vital in portrait photography. Direct sunlight creates harsh transitions and dark shadows on surfaces. This is often referred to as the “face enemy.”
Your goal is not to directly illuminate the face, but to gently illuminate the surfaces.
There are two main ways to do this:
- Natural Remedies: Using shaded areas or waiting for rainy/cloudy weather.
- Artificial Solutions: Reflect light onto a wall or ceiling, rather than directly onto the target. Or use a diffuser.
The result of soft light? Skin details appear smoother. Eyes become brighter. The overall atmosphere becomes more “face-friendly” and inviting.
2. Adjust Framing and Composition
The light is adjusted. Now it’s time to put the structure in place.
Framing is not just about what you see. It’s also about what you don’t see.
Most amateurs try to fit everything within the frame. professional
Framing and composition are not just technical details, they are two basic pillars that determine the spirit of the photograph. Choosing the right frame can turn an ordinary image into an unforgettable story. So how do you move your camera to achieve this?
First, determine exactly what you are shooting. Your focus should be clear. But the focal point doesn’t always have to be in the centre. The key is how you use the spaces and other elements around your chosen main object. There are two classical methods that come into play here: Golden Ratio and Rule of Three.
While the golden ratio divides the photo with mathematical precision, the rule of three offers a more flexible approach. The rule of three suggests dividing the frame into three horizontally and vertically and focusing on the intersection points. These rules give your image a natural balance and aesthetic appeal.
You can also play with symmetry and asymmetry. Symmetrical compositions create a feeling of peace and order. Asymmetrical compositions provide the dynamic energy that comes with the disruption of balance. Whichever path you choose, your goal is to direct the viewer’s eye.
3. Create Perspective
Move away from a standard eye level. Perspective prevents the photo from looking like a myopic world on a plain sheet of paper; adds depth. Generally, people shoot at eye level. This is the easiest. But the most interesting stories often come from different angles.
Go downstairs. Or go up. Squat down to a cat’s eye level. Or climb to the top of a building and look down. These height differences give the scene a completely new meaning. A plain streetscape can become huge and impressive when shot from below. The same landscape can turn into a complex geometry when viewed from above.
Perspective is not just height. This is where depth perception comes from. One object in the foreground, another object in the background… This layering draws the viewer into the image. It offers a three-dimensional experience rather than a single plane.
Why do you always use the same angle? A different perspective can make even a simple flower look exaggerated and dramatic. Try it.

4. Check Color and Contrast
Perspective is not just limited to composition. Light, shadow and color temperature also create that three-dimensional feeling. While dark tones recede, bright ones come to the fore. This is a physical fact, but the camera’s sensor can manipulate it. If color contrast is high, depth perception increases. Low contrast images look flat and flat.
For example, combine warm orange tones with cool blue shadow areas at sunset. This contrast brings the scene to life. It reduces distraction when following a monochrome approach. In black and white photographs, the difference in tone determines depth. Gray tones create a feeling of distance by making smooth transitions.
Darken the shadows to increase contrast. Shine the highlights. But don’t exaggerate. Excessive contrast kills details. If the shadows are completely black, depth is lost. Soft light offers a more natural perspective. Hard light, on the other hand, gives a dramatic but sometimes flat look.
Color temperature also comes into play. Cool white balances emphasize distance. Warm tones give a feeling of closeness. When you combine a warm lamp with a cool window light in a room, layers of depth are created. This technique is still valid even in the digital age. Because the human brain reads depth through color temperature differences.
Fortunately, modern software makes this job easier. You can enhance perspective by adjusting color tones in Lightroom or Photoshop. Adding a vignette also creates a sense of depth by drawing attention from the edges to the center. But remember. Tools help. Your eyes are still the most important tool.
Reading the color wheel: Why are warm and cool tones important?
The color wheel is not just a drawing, it is a map that determines the spirit of your photographs. Basic colors are red, blue and green. Mixtures of these create orange, purple and a second shade of green. Understanding this relationship allows you to understand why colors interact with each other so much.
Warm tones are striking. Red, orange, yellow… These give energy. It revitalizes the atmosphere. Cool colors are the opposite. Blue, purple, green. These are calmness and peace. This is how you can manipulate the tone of a photo. Make an informed choice. You can create the feeling you want with the right combinations. It’s not difficult. Just knowing the language of colors is enough.
Creating contrast: How to create impressive contrasts?
Color contrast catches the viewer’s eye. When contrasting colors come together, they compete with each other. It highlights someone. Suppose you are considering a yellow flower. Add a blue background. The result is impressive. Colors emphasize each other. A strong interaction begins.
But you don’t always want harsh contrast. When you place objects of the same color tone next to each other, you get a soft contrast. This is easy on the eyes. It will be useful if you are looking for a thinner, more elegant touch. Which path you choose depends on the story you want to tell.
“While opposite colors emphasize each other and create an impressive contrast, the same tones provide a soft and harmonious transition.”
Editing and post-production: How to get the look you want
Theoretical knowledge is good. But in practice it doesn’t always go as planned. This is where editing software comes into play. Making tone and color adjustments determine the final version of the photo.
You can adjust color tones using the tools in the software. It’s also up to you to control the saturation level. How vivid you keep the colors and how faded they are will change the character of the photo. You get the look you want from here. Take a balanced approach, without overdoing it.

The moment of shooting is just the beginning. The real magic happens later, in the post-production phase. This is where you give your photo that final touch, strengthening the story and using tools to create the atmosphere you want. It’s not just about making corrections, it’s about giving meaning to the image.
Choosing the Right Photo Editing Software
If you want professional results, the tools you have are important. Adobe Photoshop and Lightroom are the giants in this field. From where? Because they don’t just correct color. They offer complex operations such as sharpness adjustment, contrast manipulation, and even perspective correction in a single interface. As a photographer, you don’t want to take away the level of control these software offer. These programs are the main factor that determines the degree of freedom you are given when processing your raw files.
Maintaining Exposure and Light Balance
Exposure is simply the brightness level. But an incorrectly exposed photo throws away the details. Correct exposure allows you to reflect the true colors and textures of objects. During post-production, you can restore the brightness and shadow balance of your captured image.
Sometimes a view you took at sunset may have burned the sky. Sometimes the shadows become so dark that it becomes impossible to see what’s going on inside. This is where exposure settings come into play. Lightening the shadows, balancing the highlights… When you achieve this balance, your photo is no longer a flat image, it gains depth.
Understanding the Emotional Language of Colors
Color edits are the fastest way to add soul to your photos. Color tones, saturation rates and white balance… These directly affect the emotion the viewer feels when looking at the photo.
Using cool tones in a forest landscape can make you feel that silence and peace. However, in the same landscape, warm tones give a message of liveliness and energy. With color corrections, you can enhance the visual appeal of your photo or even create an atmosphere that will make a viewer cry or smile. This is an artistic choice. However, this magic won’t happen without technically correct white balance.
Sharpness and Deepening of Details
When taking photos, the quality of the lens and hand shake sometimes cause details to soften. Editing software giant here

Lighting is the most important element in nature photography. It’s not just about brightness. It’s a matter of quality. The early morning and evening hours are what photographers call the “golden hours”. This softens the light. The harsh shadow of midday disappears. You can get even lighting for the whole scene. This will make your landscape’s colors and textures pop.
Think of the moment when the sun rises or sets. The sky is full of orange, pink and purple colors. Long shadows stretch across the land. These elements create drama. Add depth to flat images. Without this window, you lose the best light.
Composition Rules for Depth
Taking a good photo depends on more than lighting. It depends on how you structure it. Landscape photography is strongly based on composition. The rule of thirds is a standard starting point. Divide the frame into a grid of nine squares. Place key elements along these lines or at their intersections.
For example, shoot a seaside scene. Place the horizon on the top third line. Fill two-thirds of the bottom with water or sand. This balances the picture. Prevents the sky from covering the ground.
Adding foreground elements changes everything. Without it, your photos will look boring. Include rocks, trees, or grass near the camera. This creates perspective. It leads the viewer’s eye into the distance. The image becomes three-dimensional.
Essential equipment for great results
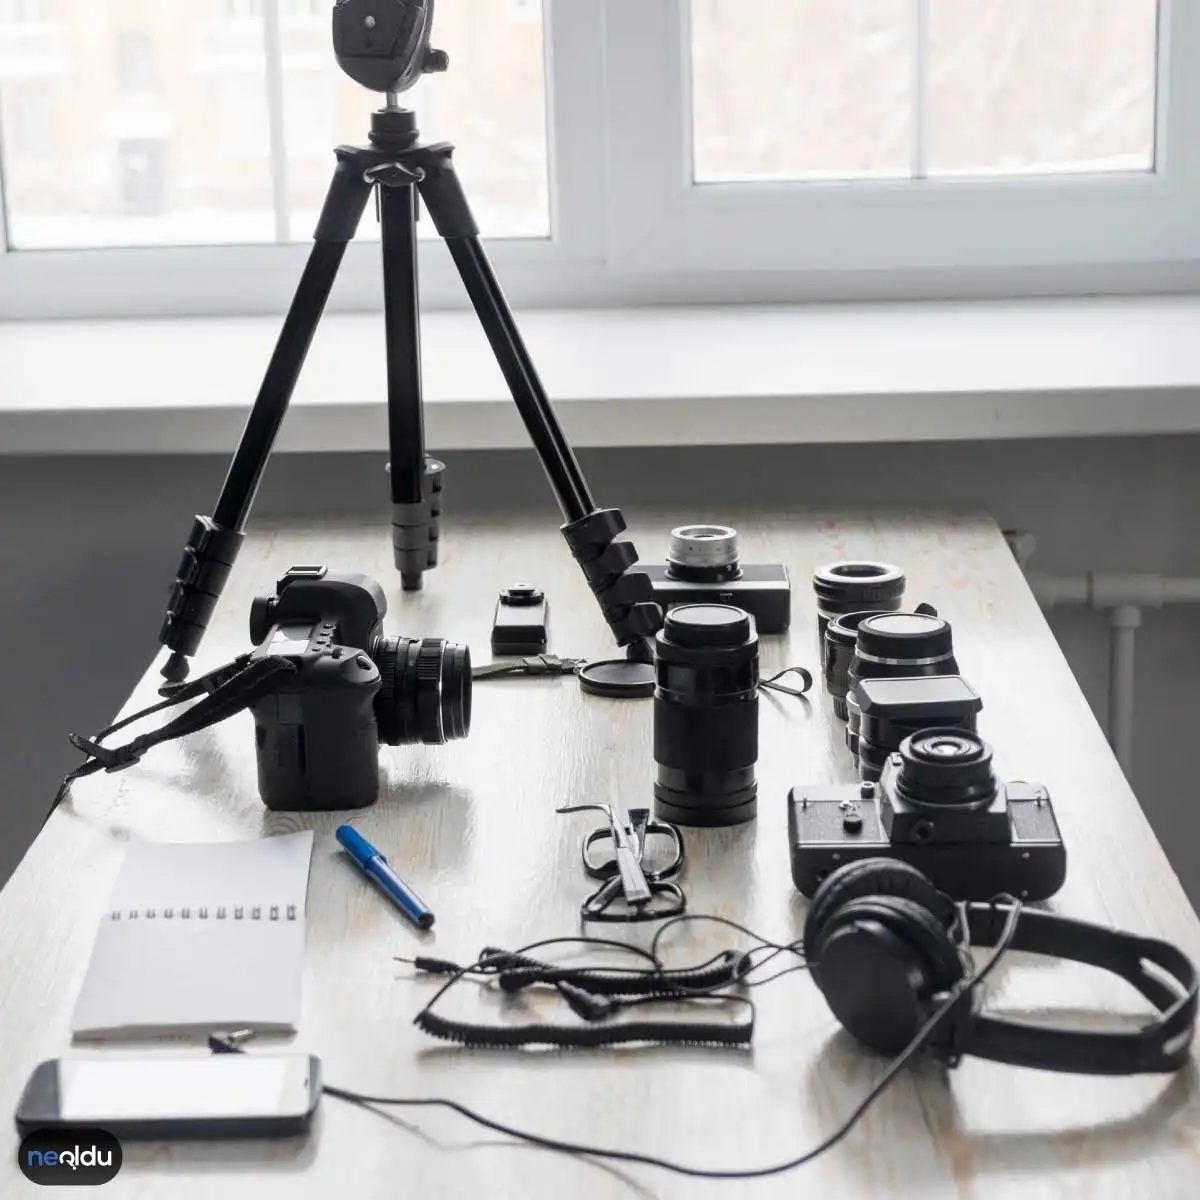
You don’t need the most expensive camera. You really need the right tools for the job. Wide-angle lenses are standard in landscape photography. It gives you a wide perspective. You can include more scenes without going back too far.
Stability is more important than you think. A tripod is essential for many types of photography. If there is less light, you need to use a slower shutter speed. Hand-holding the camera may cause the camera to shake. The tripod keeps everything sharp. This is important for long exposure time and night sky photography.
Filters add a new level of control. Polarization filters reduce reflections. The blue sky deepens. The green of foliage looks richer. Neutral density filters enable long exposures in bright daylight. You can smooth out of water and clouds smoothly without the highlights being blown out.
Capturing Motion
Staying put is not the only option. Movement adds energy. Consider a waterfall. Freeze water droplets with a fast shutter. It looks static. If the shutter speed is long, the water will blur. Creates a silky, dreamy effect. Choose according to your favorite mood.
Grass swaying in the wind and trees swaying in the wind also offer opportunities. Slowing down the shutter speed captures the sway. Indicates the passage of time in one frame. This technique turns a simple scene into a dynamic scene.
Information About Portrait Photography
The Art of Making Connections in Portraits
Portrait photography is more of a way of touching people’s faces and souls than a technical process. The aim is simple: to capture naturalness, expression and character. However, those who achieve this are not only those who have a good machine, but also those who are aware of the in-depth communication they establish with the model. Chatting, smiling and listening to the model in the shooting area is one of the most critical steps to make them feel relaxed. A comfortable environment enables candid moments instead of artificial poses. In this context, tips on portrait photography are not just about technical settings, but also include a psychological approach.
Light Control and Atmosphere
Light is the main element that determines the fate of a portrait. While harsh and direct lights generally harden facial features, soft and natural light softens the skin tone and creates a more attractive appearance. Therefore, it is always advantageous to shoot especially at certain times of the day.
How to improve lighting?
Lighting is a factor that greatly affects the quality of your photos. Try to make the best use of natural light to provide good lighting. Shooting during the golden hours, such as early morning or late evening, results in soft, warm light. Additionally, when using a flash, you can use reflectors or diffusers to disperse the light and get a softer light.
To avoid direct sunlight, you can choose shaded areas or direct the light and control it with reflectors. The direction and intensity of the light directly affects the spirit of the portrait.
Background and Depth Selection
The background should be kept plain to avoid distraction. Cluttered backgrounds prevent the model from standing out. Examining the environment and choosing a clean, simple background before taking the portrait directly affects the result.
Using a large aperture (low f-number) to create a sense of depth makes the model stand out by blurring the background (bokeh). This technique is one of the most effective methods to strengthen composition among portrait photography tips.
Focus: The Story of the Eyes
In a portrait, the focal point is usually the model’s eyes. Eyes are the most important elements that convey emotion and expression. Autofocus usually works well, but you can achieve more precise results by focusing manually. It is essential that the eyes be clear and lively; otherwise the photo will be “appropriate” but not “impressive”.
Composition and Framing
The right composition is vital for an impressive result. Basic principles like the rule of thirds help frame elements in a balanced way. Changing the perspective, shooting from different angles and choosing interesting backgrounds enriches the composition.
How to improve composition?
A good composition makes your photos look impressive. First, learn basic composition rules, such as the rule of thirds. Create visual interest by placing elements evenly around the frame. Also, try shooting from different angles by changing perspectives. Choosing an interesting background and getting the focal point right will also help you improve your composition.
Equipment and Software Selection
When choosing the right camera, what type of photos you will take and your skill level are important. Entry-level DSLR or mirrorless cameras are suitable for beginners, while more experienced photographers turn to professional devices. Budget and portability also factor into the decision.
Which photo editing software should be used?
There are many options for photo editing software. Adobe Photoshop and Lightroom are popular options that offer professional editing tools. However, there are also free or more affordable alternatives, such as online editing tools such as GIMP or Pixlr. The software you choose may vary depending on your needs, skills and budget.
Finally, consider the environment and your target when deciding which shooting mode to use. While auto mode is good for starting out, experimenting with manual, aperture priority, or shutter priority modes will help you develop your own style.